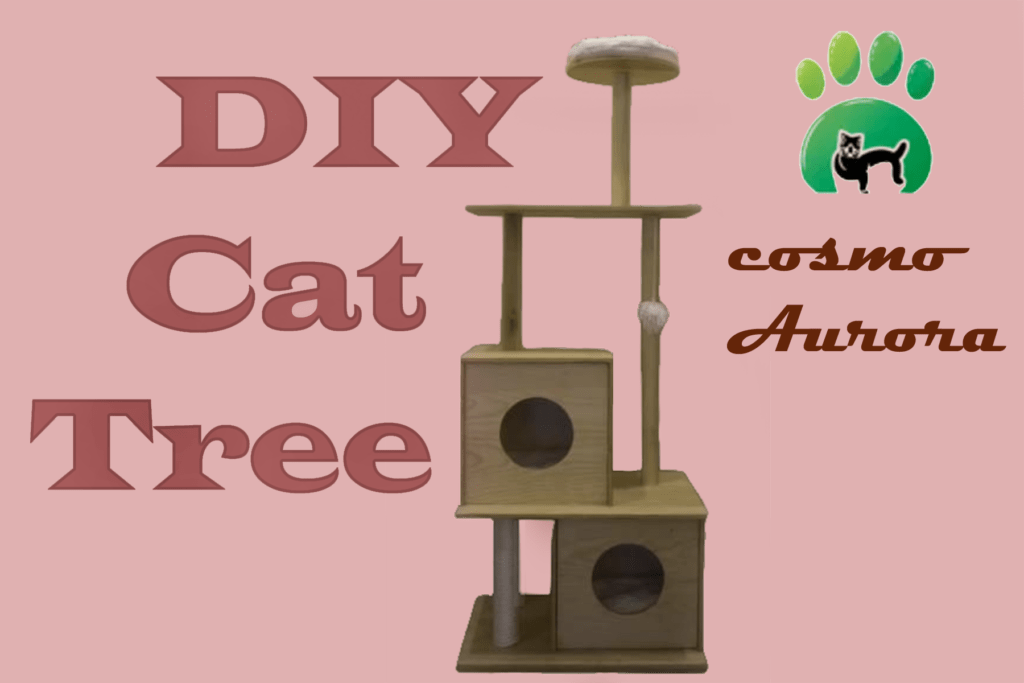
Hey everyone! It’s Ava Grace here, and today, I’m going to take you through my fun adventure of building a cat tree for my cats! If you have more than one cat like I do, you know how important it is to keep them entertained and active. A cat tree with multiple beds, platforms, and scratching posts is a great way to keep them busy and happy. Plus, building it yourself is not only cheaper but also super rewarding. So, let’s get started!
Table of Contents
ToggleStep 1: Collect Instruments
First things first, I needed to gather all the materials. I decided to go with high-quality wood because it’s strong and will make the cat tree sturdy and long-lasting. I got myself some good wood glue, spiral-shank nails, and a staple gun. Here’s a tip from me: Don’t buy a saw or any type of woodcutter if you’re not used to handling them. I didn’t want to take any chances, so I went to a local carpenter and asked him to cut the wood into the sizes I needed. It’s safer, and it saved me a lot of stress!
Materials I Used:
Eight pieces of 4×4 wood
Two pieces of 4×4 wood with holes
Two pieces of 5×5 wood
Two scratching posts (cut to the right size)
One piece of 3×3 wood
Step 2: Building the Base of the Cat Tree
Next, I had to figure out the base size. I measured the spot where I wanted to place the cat tree to decide how big the base should be. I decided on a 5×5 base. I asked the carpenter to make two pieces for me—one for the bottom and one for a second level above it.
Step 3: Building the Walls
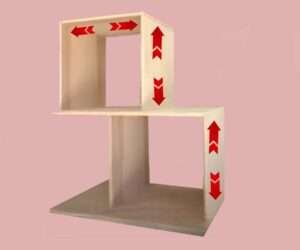
Now comes the tricky part—building the walls. I took the 4×4 pieces and placed one in each corner and another one a bit toward the middle, where I planned to put a scratching post. I learned that patience is key here. First, I applied wood glue to secure them, waited a bit for it to set, and then hammered in nails from the bottom. I repeated this process for the second level, gluing and nailing the wood pieces securely. I realized that not rushing the glue drying process is super important to keep everything sturdy!
Step 4: adding the scratching post.
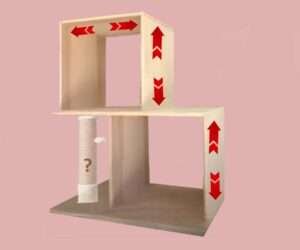
Fitting the scratching posts was a bit challenging. I measured the height needed and cut a round wooden stick to size. I covered the entire stick with glue and then wrapped it tightly with rope. This part was a bit messy, but it’s all part of the fun! If you have ready-made scratching posts, like I did, you can just cut them to the right size and nail them in place. The key here is to be patient and wrap the rope tightly.
Step 5: Creating the third floor
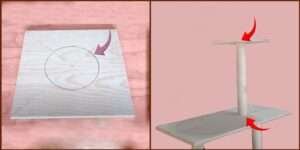
To make things more exciting for my cats, I decided to add a third floor. I measured and cut two pieces of wood—one longer and one half the length of the first. I glued the bottom piece first and then secured it with nails. Then, I placed the sixth 4×4 piece on top. A little tip: Always double-check your measurements before gluing. It saves you from having to redo anything!
Step 6: Attaching the Doors and Final Walls
Step 7: making the top tower.
Step 9: Adding Carpets for Comfort
I wanted the cat tree to be not only fun but also comfortable, so I decided to add some carpet to the platforms. I carefully cut pieces of carpet to fit each platform and used a staple gun to secure them in place. A word of advice: If you’re using a staple gun, keep your fingers safe and staple away from the edges to avoid any accidents. The carpet added that final touch of coziness!
Tips and Tricks to Avoid Common Mistakes
Stay Patient: One thing I learned is that patience is crucial. When I rushed, things didn’t line up well, and I had to fix them.
Let the Glue Set: Giving enough time for the glue to set is super important. Don’t rush this step, or you’ll end up with a wobbly cat tree!
Add Your Personal Touch: I love getting creative! Don’t be afraid to modify the design to suit your space or your cats’ personalities. You might come up with something even better than my design!
And there you have it—a sturdy and fun cat tree that my cats absolutely love! I hope this guide helps you create a fantastic play area for your furry friends. Remember, it’s all about having fun and enjoying the process. Good luck, and happy building!

